Data Recovery is essential for users wanting to secure their important data when moving/shifting to a new device. In cases where direct access to that particular or specific device is not possible, specialized recovery software may be needed. iPhone Data Recovery Tool offers a reliable and effective solution for recovering data from iOS Devices directly.
Please Note: iPhone Data Recovery Software can be used to recover lost/deleted data from every iOS device. On top of that, users can recover a wide range of data such as, app photos, videos, documents, messages, notes, voice memos, Safari bookmarks, call history, calendars, reminders, contacts, FaceTime, Safari history, and attachments.
 |
 |
Directly Recover Data From iOS Device
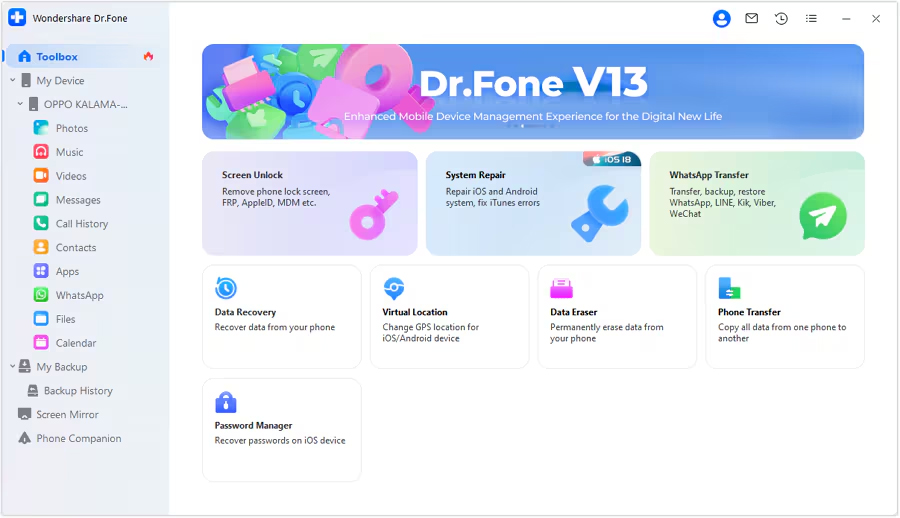
Step 1: Launch iPhone Data Recovery Tool
Download, install and launch the iPhone Data Recovery Tool. Once done, go to the Toolbox > Data Recovery option to initiate the data recovery process.
Step 2: Choose iOS as the Device Type
In the next window, you will be asked to select your device type, choose iOS to move further.

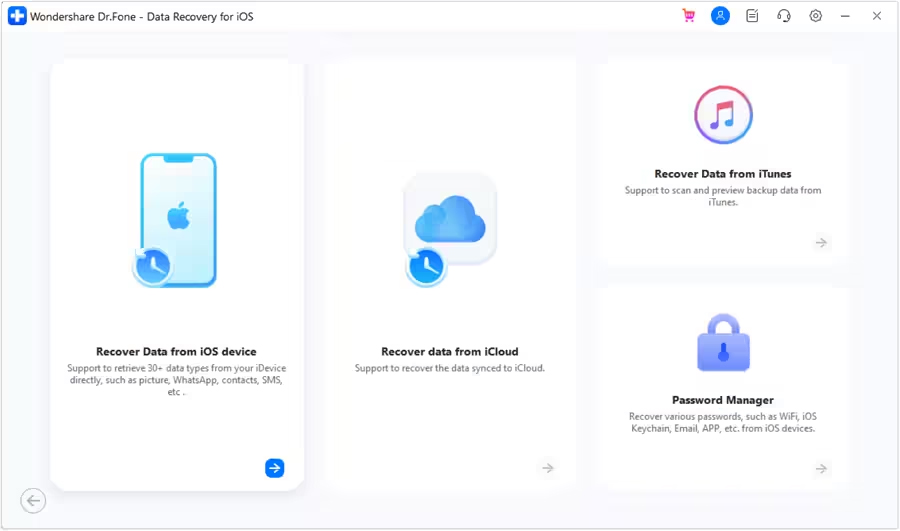
Step 3: Continue to initiate Data Recovery
Here, select the “Recover Data from an iOS device” option to initiate the recovery process.
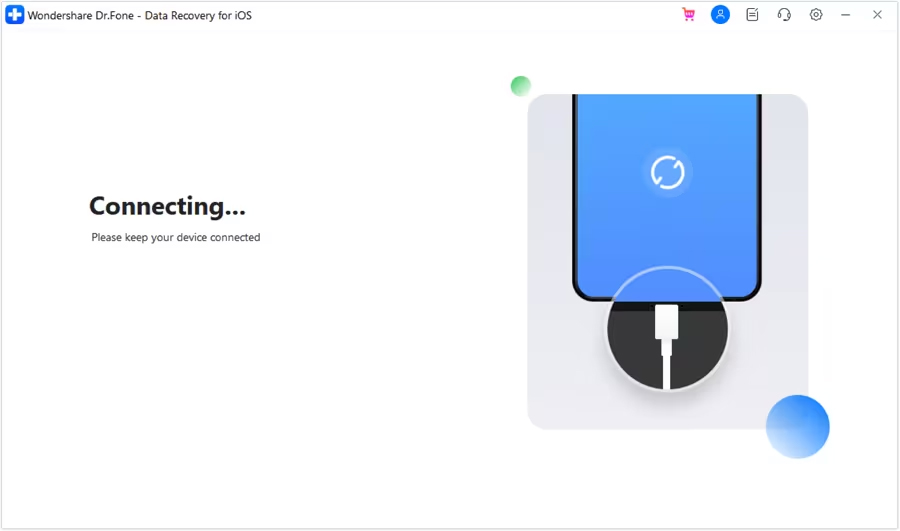
Step 4: Connect the iOS Device to Computer
In the next window, you will be asked to connect the iOS device to the computer. Connect the iOS device using a USB cable and wait for the tool to detect it.
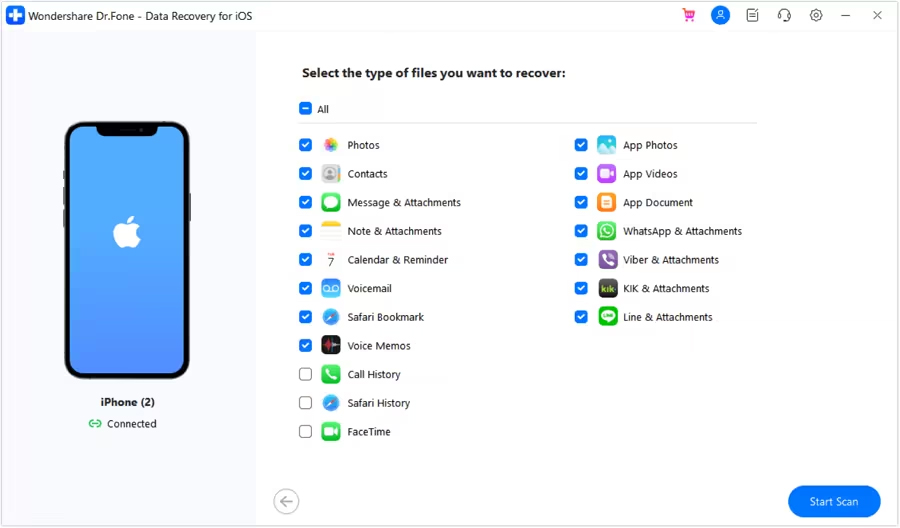
Step 5: Choose Files Types to Recover
Once it detects the device, it will display all the file types that you can recover. Here, select the desired files types that you want to recover and click the “Start Scan” option present at the bottom-right corner of the screen.
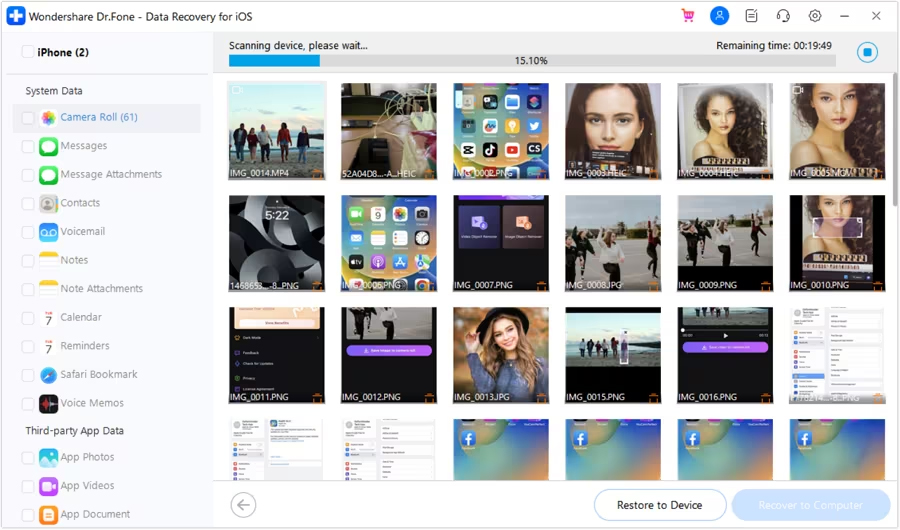
Step 6: Let the Tool Scan the Data
Now, the platform will start scanning the device data and displays it on the preview screen. Wait for it to completely scan the device, after which you can preview and select the data you wish to recover.
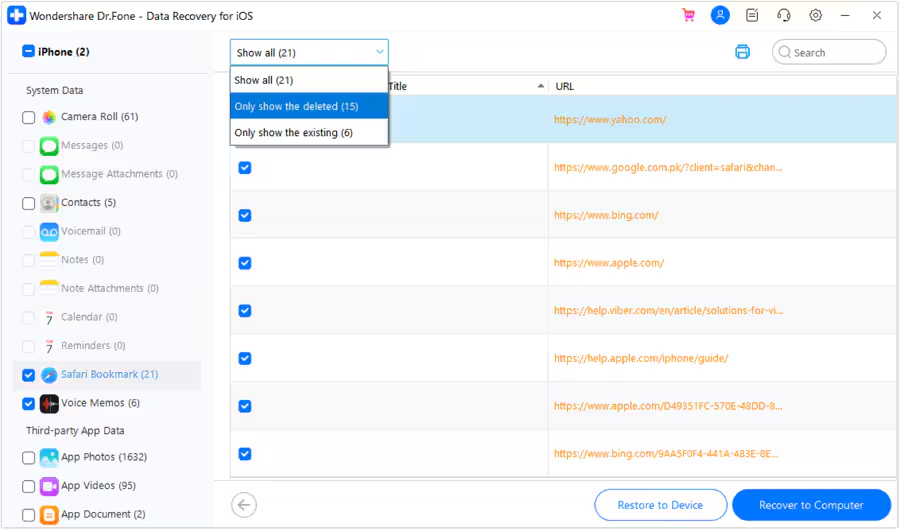
Step 7: Preview and Selectively Restore Data
Once the tool completely scans the device, you can preview and choose the data which you want to restore. In fact, you can also filter the results, to do so click on the tab present at the top and select if you want to preview all the data, existing data, or the deleted data. Once you are done selecting the desired data, click on “Restore to Device” button present at the bottom of the screen.
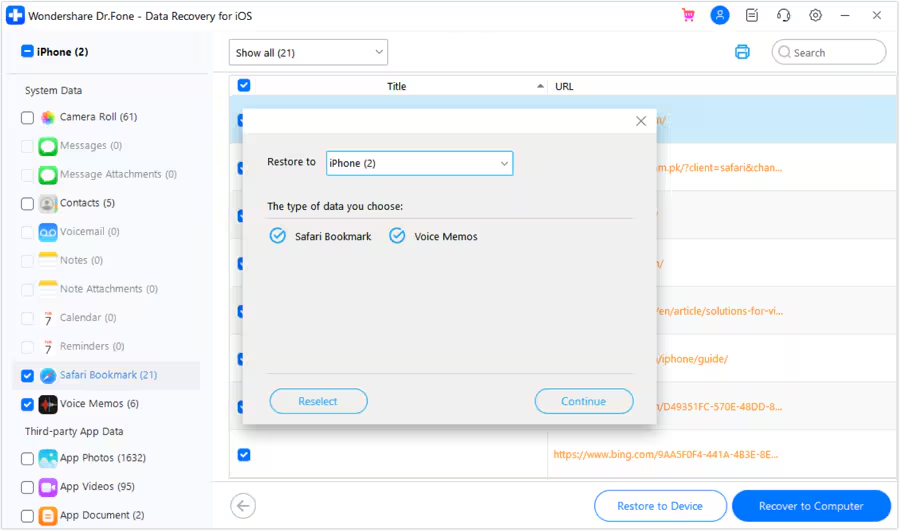
Step 8: Choose Device to Restore
In the next window, it will ask you to select the iOS Device in which you want to restore the data. Choose the iOS Device and click on the Continue button to procced further.
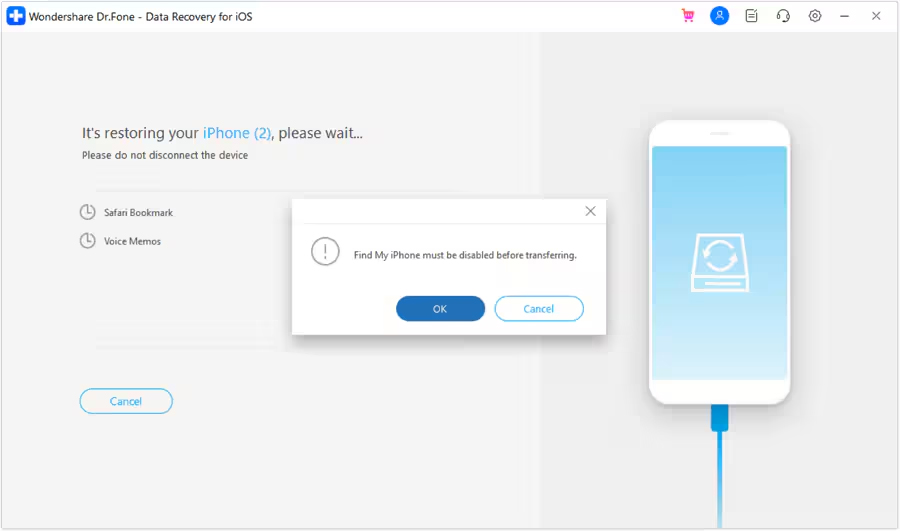
Step 9: Turn Off Find My Service
You will need to disable Find My Service from your iOS device to restore the data. Once you turn it off, click on the OK button.
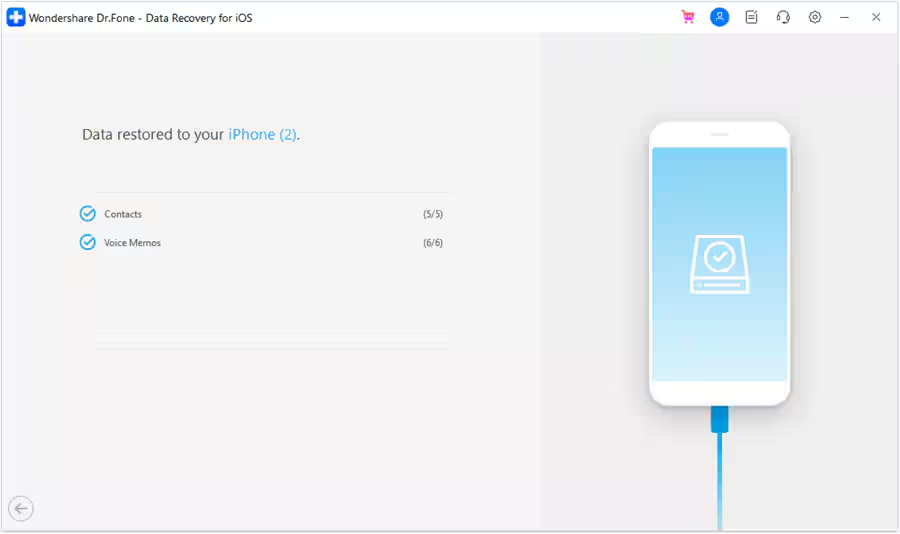
Step 10: Data Will be Restored Successfully
The data will be restored to the iOS device and will be prompted on the computer screen.
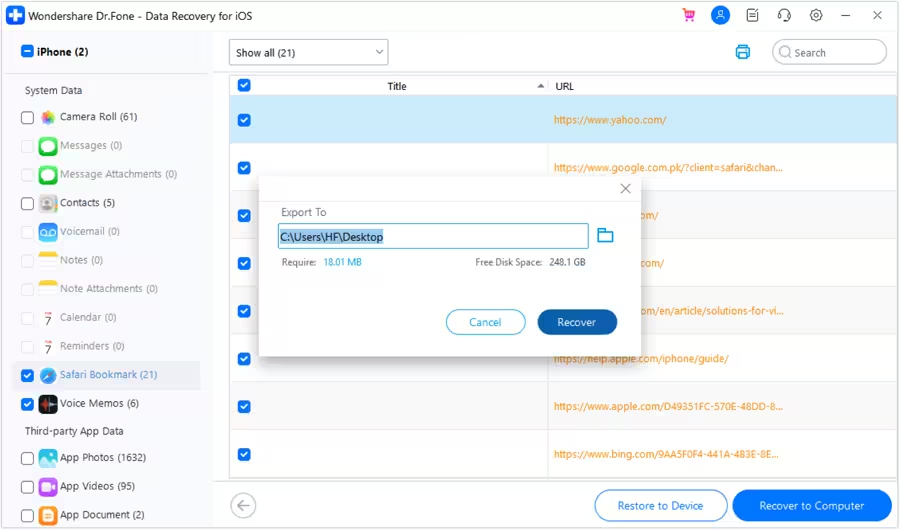
Step 11: Recover Data to Computer
If you want to recover the data on the computer, choose the desired data and click on the “Recover to Computer” button present at the bottom-right corner of the screen. Once you click on it, a prompt will appear asking for the location where the data will be extracted. Set the location and click on the “Recover” button.
|
|