iOS System Repair Tool is a good to go option when you are facing system issues on any iOS device like iPhone, iPod, iPad.
It repairs more than 150 iOS system issues without considering the nature of the issue/error. iOS System Repair Tool is the best solution when it comes to solving system issues on iOS/iPadOS.
Please Note: This tool automatically installs the latest iOS version for your iDevice, once you use it. This involves jailbroken devices, it will update to a non-jailbroken one, if it has been jailbroken before. Same goes with unlock iOS devices.
Part 1: iOS Standard Repair
Part 2: iOS Advanced Repair
 |
 |
Part 1: iOS Standard Repair
iOS System Repair consists two modes, first is Standard Repair and the other is Advanced Repair. In Standard Repair, the tool will fix all iOS system issues without harming any of your data.
If you are facing system issues on your iOS/iPadOS and want to fix it without losing data, then select Standard Repair.
The below steps will guide you how to use the iOS Standard Repair.
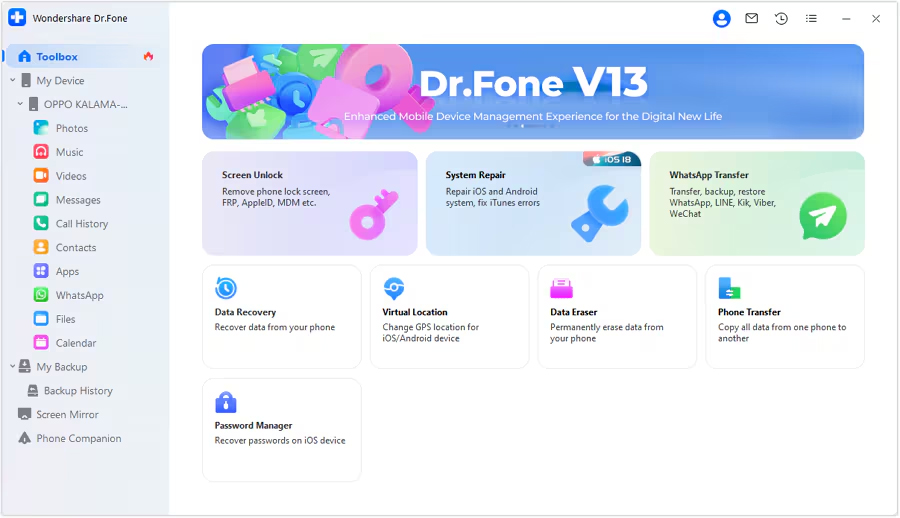
Step 1: Launch the iOS System Repair Tool after installing the tool on your computer. Go to the Toolbox section from the top left side of the screen. Now, select System Repair from the list displayed on the home screen.
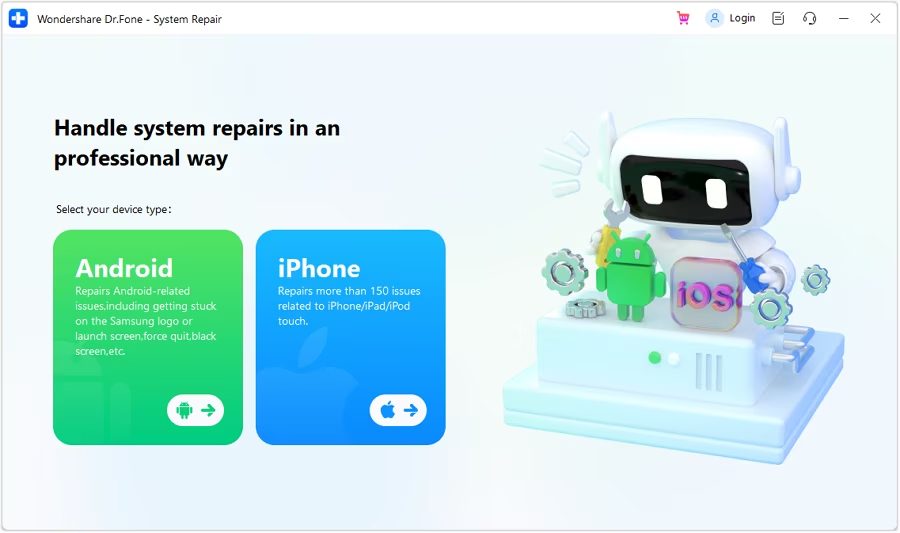
Step 2: You will be redirected to a new window as you connect your iOS device to your computer with a cable connection to select the nature of the device. So, select iPhone since we are performing iOS System Repair.
Step 3: Select iOS Repair among the set of options appeared on the screen to continue system repair.

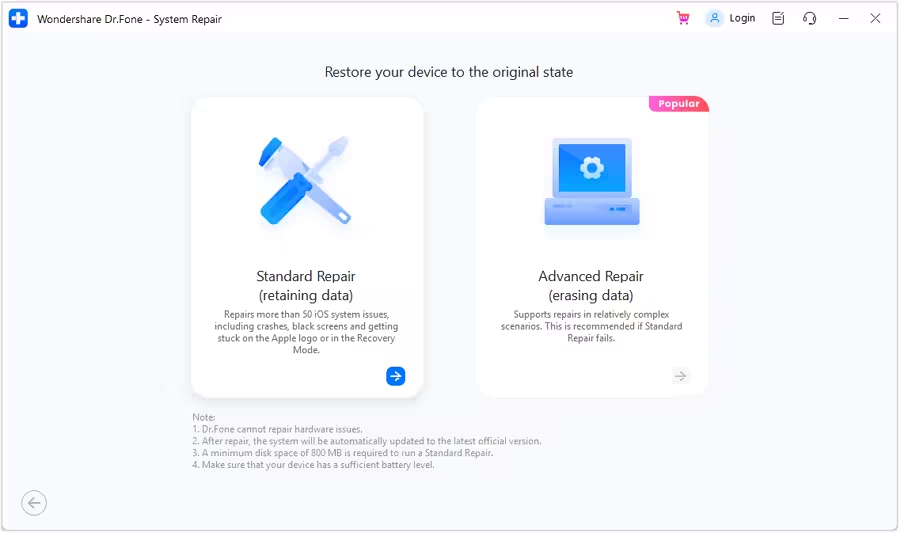
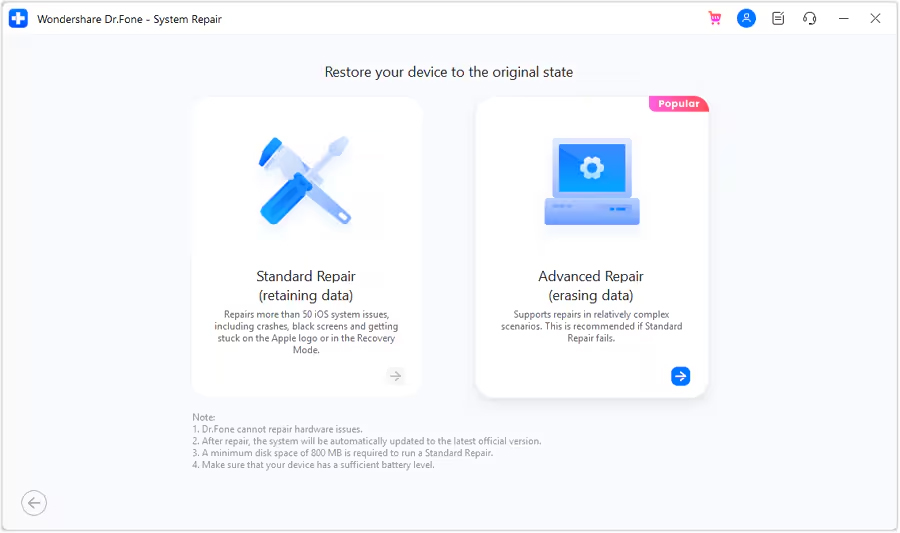
Step 4: Select Standard Repair as a mode of repairing for your iOS device.
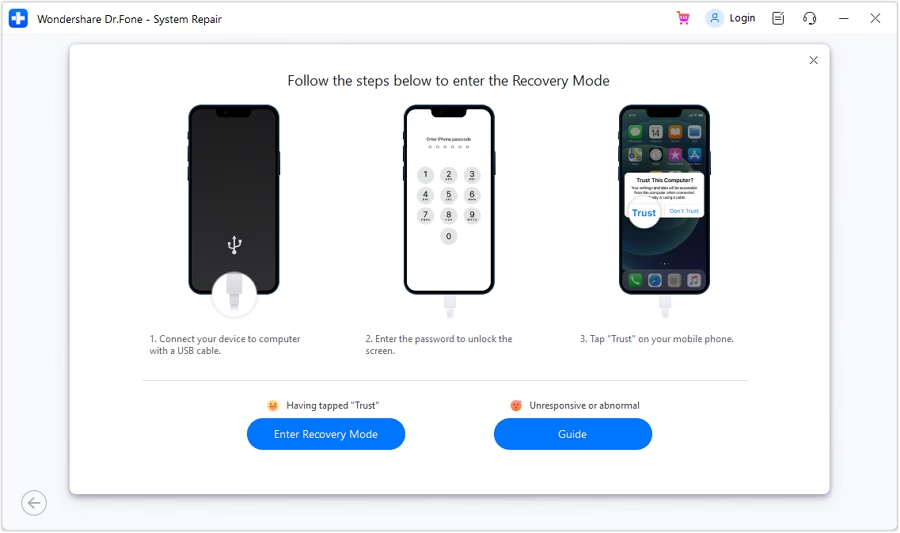
Step 5: Next, you have to enter your iOS device into Recovery Mode by following the on-screen instructions. After that, click on Enter Recovery Mode. But if not entered your iOS device into Recovery Mode, click on Guide and follow the ongoing instructions to enter your iOS device into Recovery Mode.
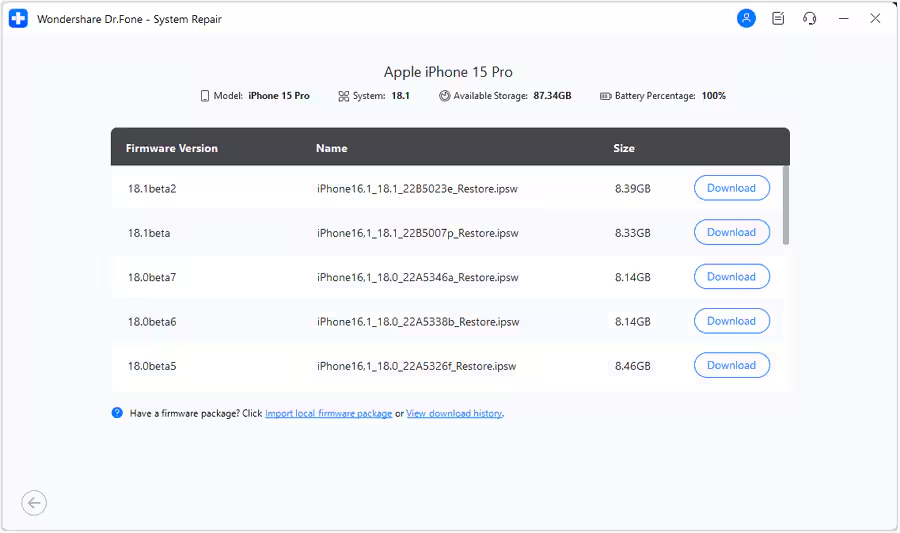
Step 6: After entering your iOS device into Recovery Mode, the platform will automatically detect the iOS firmware to be installed in the device. Click Download next to the iOS firmware you wish to install.
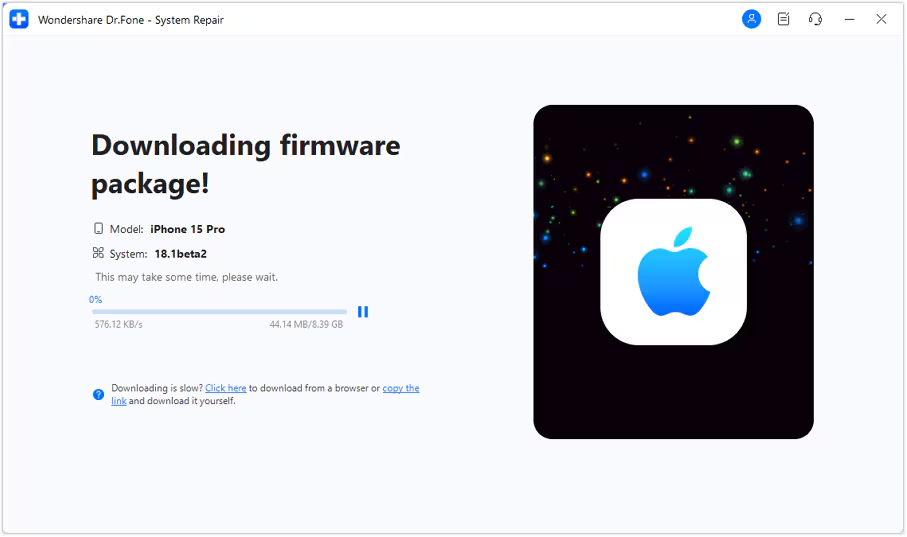
Step 7: The iOS firmware will automatically start downloading on the platform.
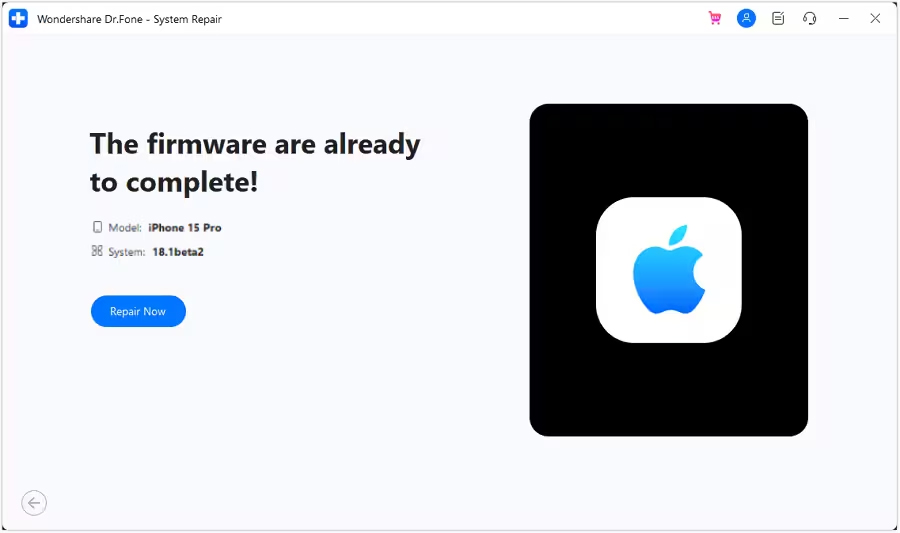
Step 8: Next, click on Repair Now to continue the repairing process.
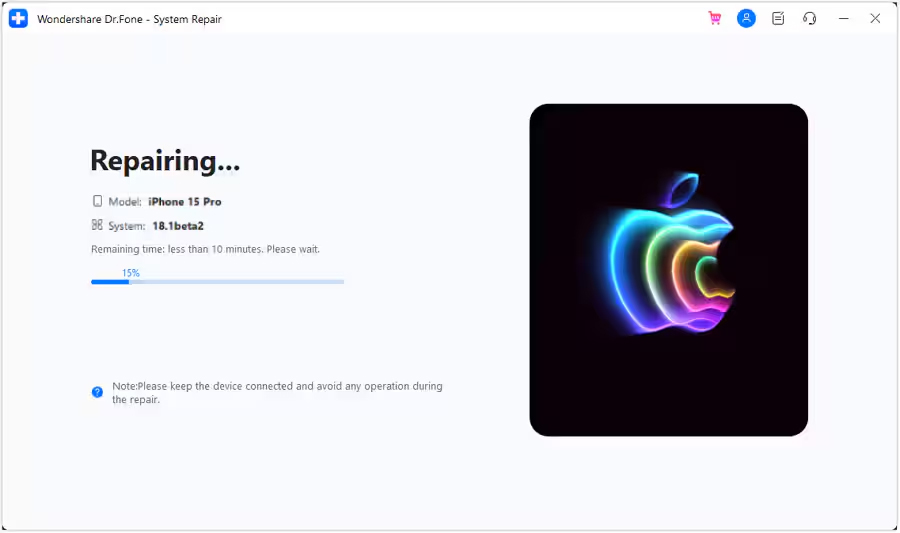
Step 9: Now, wait for the process to complete and make sure your iOS device is connected to the computer.
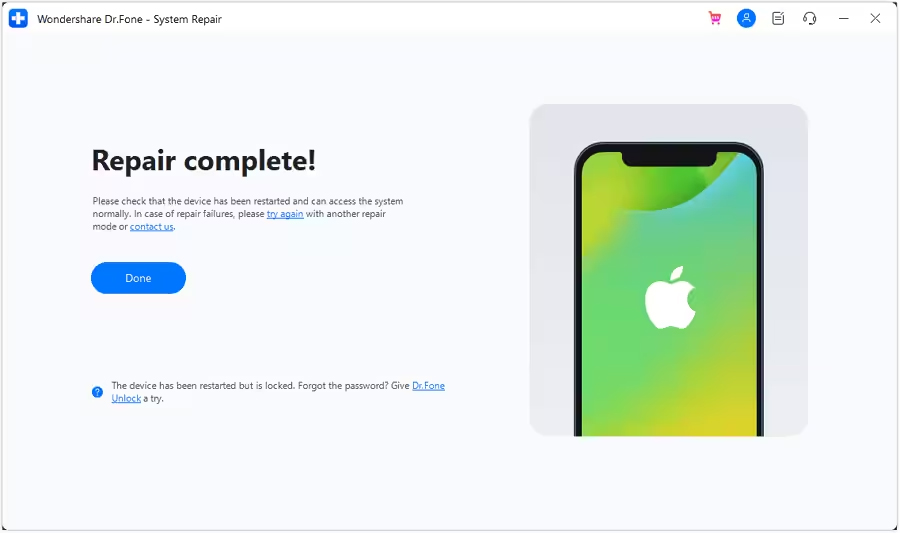
Step 10: The screen will now show the completion of the process. Select Done to complete the whole repairing process.
|
|
Part 2: iOS Advanced Repair
This method is only recommended when the problem remain even after using the Standard Repair mode.
Advanced Repair Mode uses deep scan method and repair complex iOS/iPadOS system issues but also erase all your data.
Note: Make sure to prepare a complete back up of your data as the advanced repairing method will erase all your data from your iOS device.
From the iOS Standard Repair, follow the same steps from 1 to 3 and continue here.
Step 1: Select Advanced Repair among the two options.
Step 2: Next, you have to enter your iOS device into Recovery Mode by following the on-screen instructions. After that, click on Enter Recovery Mode. But if not entered your iOS device into Recovery Mode, click on Guide and follow the ongoing instructions to enter your iOS device into Recovery Mode.
Step 3: After entering your iOS device into Recovery Mode, the platform will automatically detect the iOS firmware to be installed in the device. Click Download next to the iOS firmware you wish to install.
Step 4: The iOS firmware will automatically start downloading on the platform.
Step 5: Next, click on Repair Now to continue the repairing process.
Step 6: Now, wait for the process to complete and make sure your iOS device is connected to the computer.
Step 7: The screen will now show the completion of the process. Select Done to complete the whole repairing process.
|
|